Tips for Strip-Piecing
Strip-Piecing is a fairly common technique used in quilt patterns to achieve multiple simple blocks at the same time without having to cut and sew individual squares or rectangles. Essentially, it entails sewing width-of-fabric strips together first, before cutting them down into smaller units. For example, in my Mazant pattern, I use strip-piecing to create the cornerstones of my block, as seen below.
The slow version of this construction could be as follows:
I cut a 2.5” strip of grey fabric and sub-cut it into 2.5” squares. Then I cut a 2.5” strip of purple fabric and sub-cut it into 2.5” squares. Next I sew a single grey square to a single purple square and repeat until I have as many grey/purple rectangles (as pictured below) as I need.
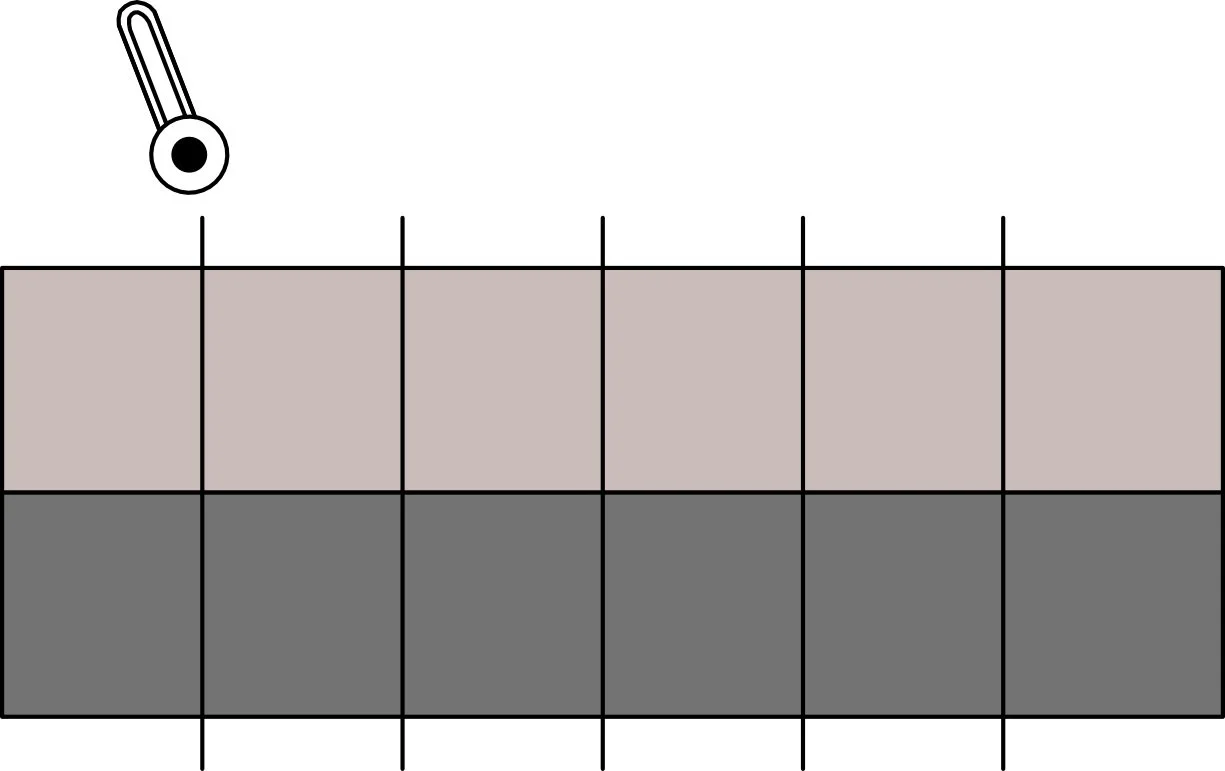
OR… if strip-piecing, I cut my 2.5” strips from my grey fabric and my 2.5” strip from my purple fabric. Then, I sew the long sides of a grey strip and purple strip together. Next, I sub-cut the sewn-together strips every 2.5” inches until I have as many grey/purple rectangles as I need (also pictured below). As it may seem, it’s a lot quicker to strip-piece than sew together individual squares, so if strip piecing is an option that will work with the design you are making, it’s a great technique to use. However, because you aren’t measuring individual squares or rectangles, it’s important to have accurate cutting and sewing in order to yield correctly-sized pieces.
Below I have compiled a few tips for strip-piecing, in order to have the most success when using this technique. I hope it helps!
Tip # 1
Cut your fabric straight by folding your fabric along its true half.
Your fabric probably comes folded in half on the bolt when you have it cut from your local quilt shop. In a perfect world, it is already folded along it’s true half when it’s on the bolt, but unfortunately, the reality is that it is probably not. The best way to test this is to first, place your yardage on your cutting mat and look at the selvedges. Do your selvedges appear to be even with each other, or do they look like the are running at an angle to each other? If they look like they are uneven or at an angle, then we already know, your fold is not truly in the center.
If the selvedges appear even with each other, or parallel with each other, the next step is to confirm that the top fold is also parallel with your selvedges. Do this by laying your 24” ruler on the top of you fabric, as pictured .
(I am using a grey fabric on a grey cutting mat. It was probably not the best choice for this this tutorial. But until I have other pictures, it is what I have to work with.)
Pick a horizontal line on your ruler, and line it up with the fold of your fabric. If the top fold is parallel with your selvedges, then the selvedge will also be lined up with a horizontal line on your ruler. Look at the images of my ruler on top of my fabric. In the close-up pictures, you can see that the folded edges is even with the 23.75” horizontal line of my ruler and the selvedge is level with the 1.25” horizontal line.
If you don’t have a 24” ruler, or any ruler long enough to span your fabric when folded in half, you can also use the lines on your cutting mat. If your selvedges are parallel with a horizontal line on your cutting mat, then take a look at your fold. Is your fold also parallel with a horizontal line on your mat?
If your fabric fold is passing this test, you are ready to cut. If it’s not, then you can re-fold your fabric. Open up your fabric and press the center crease really good. I like to spritz a little water on it, or you can use steam. If you want to create a new and accurate fold, you need to do your best to get the inaccurate fold out so your fabric does not want to continue to fold along the same old and incorrect crease. Once it’s pressed, lay your fabric on the table and refold it, taking care that the selvedges are even with each other. Use your ruler or mat to see if the fold is parallel to the selvedges. And if it is, REPRESS your new fold.
If your cuts are not square (90 degrees) with the selvedges, then your cuts will not be following the grain of your fabric, which is important for the stability of your quilt top. And if your cuts are not square with the fold, then your strip will not be straight when unfolded. The picture below shows a strip that was not folded in half properly when cut. You can see the jog in the fabric after the fold line. Avoiding these jogs and having super straight strips is critical for strip piecing because we need long straight edges to have long straight seams to have accurate pieces when we are finished. This process is important any time you are cutting fabric, but it is especially important for strip-piecing.
This can be a fickle process, and I sometimes find a fabric that refuses to fold parallel with it’s selvedges, but I try and get it as close as possible. I would argue that when you are having a lot of difficulty with a fabric, cutting square (90 degrees) with the fold is more important than square with the selvedges.
Tip #2
Use a scant quarter-inch seam allowance.
The infamous and sometimes elusive scant quarter-inch seam allowance is another skill to “perfect” (no such thing, but we can progress) for strip-piecing.
If you don’t know, a scant quarter-inch seam allowance refers to a seam allowance that takes into account the width of your thread. Many times the difference between a scant and true quarter-inch seam allowance is negligible when it comes to the big picture of your block. How can a thread’s width worth of fabric effect this size of my quilt? In strip-piecing, though, especially when there are many strips sewn together before sub-cutting, that small difference can add up. The examples below were from sewing the Interwoven quilt pattern from Lo & Behold Stitchery. This pattern involved 10 strips sewn together with each strip finishing at 1” exactly.
You can see in the pictures where I was still finding my quarter-inch seam allowance. In the first picture, the far most right seam is aligned perfectly with the 1/4” line of my ruler. But as you move left, the seam gets further and further away from the 1.25”, 2.25”, 3.25” and so on and so forth. Oddly enough, I was having the reverse problem. My seam allowances were too scant, so my finished strips were larger that what I wanted. In the next picture, you can see how each seam allowance aligns almost perfectly with the whole-inch markers on my ruler. That is what finding your scant quarter inch will do.
On the stitch plate of many machines, there will be some sort of line to indicate where your quarter inch seam allowance is. I have pointed it out on my machine in the images below. Your scant quarter-inch seam allowance will be just inside the line indicated. I invested in a quarter inch foot with a guide for my machine. The guide on the foot is just a bit inward from my 1/4” mark on my stitch plate. For me, I found that if the edge of my fabric is basically flush with my guide foot, I have the almost-perfect scant quarter inch. Any further in from the guide and my seam allowance was too small, which is how I ended up with the strips mentioned early that are larger than 1” finished.
You can see in the picture where the two fabrics are starting to separate from each other. This can be prevented by shortening your stitch length.
How to get a scant quarter inch may be a little different for everyone. Your thread, your machine, your presser foot, your posture at the machine can all make a difference. The best way to find what will work for you is trial and error, and practice practice PRACTICE!
A good way to find and practice your scant quarter-inch seam allowance is to cut out two 2.5” squares. Sew them together. Press your seam open or to the side (which ever you think you’ll be doing more often) and then measure your sewn piece. It should measure 2.5” by 4.5” exactly. If it’s a little wider than 4.5”, your seam allowance is too scant. If it’s not quite 4.5” wide, you seam allowance is not scant enough. And when you find the perfect size, mark that place on your stitch plate and practice sewing with that mark in mind.
Tip #3
Shorten your stitch length.
Typically when we are constructing our quilt top, we are working with a 2.5 mm stitch length. It’s the Goldilocks of stich lengths where it’s not so short that it’s hard to rip out if needed, but it’s not so long that we compromise the security of our seam. That being said, there are many specific purposes for changing your stitch length and one of those is strip-piecing.
The entire point of the technique is to cut into already sewn pieces of fabric, but doing this can sometimes compromise our stitch. Once we cut across those seams, it does not take much for the threads to pull away from each other and undo our stiches. The more and more we handle our fabric, the more potential there is for our seam to come undone. To prevent this, I like to shorten my stitch length to. 1.8-2 mm. The shorter the stitch length, the more secure a stitch, and the more work it takes to undo the stitch whether intentional or otherwise.


