Fabric. The Very Basics. Part 1
I’m certainly no expert, but I’ve learned a bit about fabric over the last few years. Some of it, I wish I would have known when I first began quilting (and sewing in general), and other things I just think are interesting. Over the last few weeks, as I have been working on different projects, and thinking about what bits would be fun to share with y’all, it occurred to me that a lot of them revolved around the very basics of fabric. So, since I’m at the very beginning of my pattern-writing business, I figure I’ll start readers out there with the very beginning of fabric basics, and we can all grow along the way. What information I have not gleaned from working with fabric and at a fabric store, I learned from the Love to Sew Podcast, specifically Episode 27 “Fabric 101” and Episode 223 “Fancy Weaves”. You can find all of the episodes here!
What Even is Fabric?
Ok, so that’s a bit of a joke. I assume I don’t need to tell you what fabric is other than it is threads, which can be created from a variety of materials, interlocked together to create big, beautiful sheets of what we quilters drool over, pet in fabric stores, collect, swap, cut into, don’t cut into, and overall love in such a way that a non-sewist may just not understand. There is surely a more technical definition of “fabric” out there, but it’s probably a more boring way of saying what I just said.
Woven v. Knit
In my super accurate definition of “fabric”, I said that the threads interlock to create it. Depending on how they interlock, the fabric can be either a woven fabric or a knit fabric. I don’t knit, so while I get the gist of it, I can’t describe to you in detail how the yarns of knit fabric are looped together, but what I can tell you is that knit fabric is designed to stretch. Depending on the composition of the material (and what percentage, if any, is elastane/spandex,), it will both stretch and recover (meaning it will bounce back to its original shape, like a rubber band) to varying degrees. AKA: Some knits are stretchier than others and some knits stretch back better than others.
Woven fabrics will only stretch if their content stretches. For example, denim is a woven fabric. If the denim is 100% cotton, it will not stretch, because the weave does not allow for it. If the denim has an spandex component to it, it can stretch, not because of the weave, but because the fibers themselves stretch. If we are talking cottons used for quilting, they will be 100% cotton, with 0% elastane, so by the nature of the weave and composition, they will not have stretch to them. A knit fabric allows for stretch regardless of the composition, but depending one what it is made of, it may stretch further and bounce back better.
Now, knit fabrics are really intended for garments and not quilts. (However, I have seen plenty of fiber artists make amazing quilts out of all kinds of fabris; knits, wovens, all of it. I am a firm believer in “you do you”. Yes, the quilt police may come at you because traditional quilting has blah blah bleh blah whatever rules, but where there’s a will, there’s a way. T-shirt and memory quilts are proof that you can quilt with any fabric, you may just have to treat it a bit differently. In the case of many t-shirt quilts, you might stabilize it with an interfacing. Maybe I’ll do a post about t-shirt quilts one day).
Woven Widths
Most fabrics come in one of two widths, 45- or a 60-inch width of fabric (WOF). These, however, are on the more generous end of a width range. For example, many if not most garment fabrics are typically between 54 to 60 inches in width, though often it’s just referred to as 60-inch width. I image garment fabrics are wider because you get more fabric per yard, which is easier to lay out pattern pieces. But I’m not here to talk about garment sewing (even though I keep doing so).
If you are a quilter, you are usually dealing with 44- to 45-inch wide fabric. Very rarely, do you actually get 45 full inches worth of usable fabric and this is for multiple reasons. Not only is there wiggle room in the WOF (some bolts are closer to 44” and some to 45”, hence you’ll see reference to 44/45), but there is also the selvedge to consider, because it takes up some of that valuable width.
Selvedges
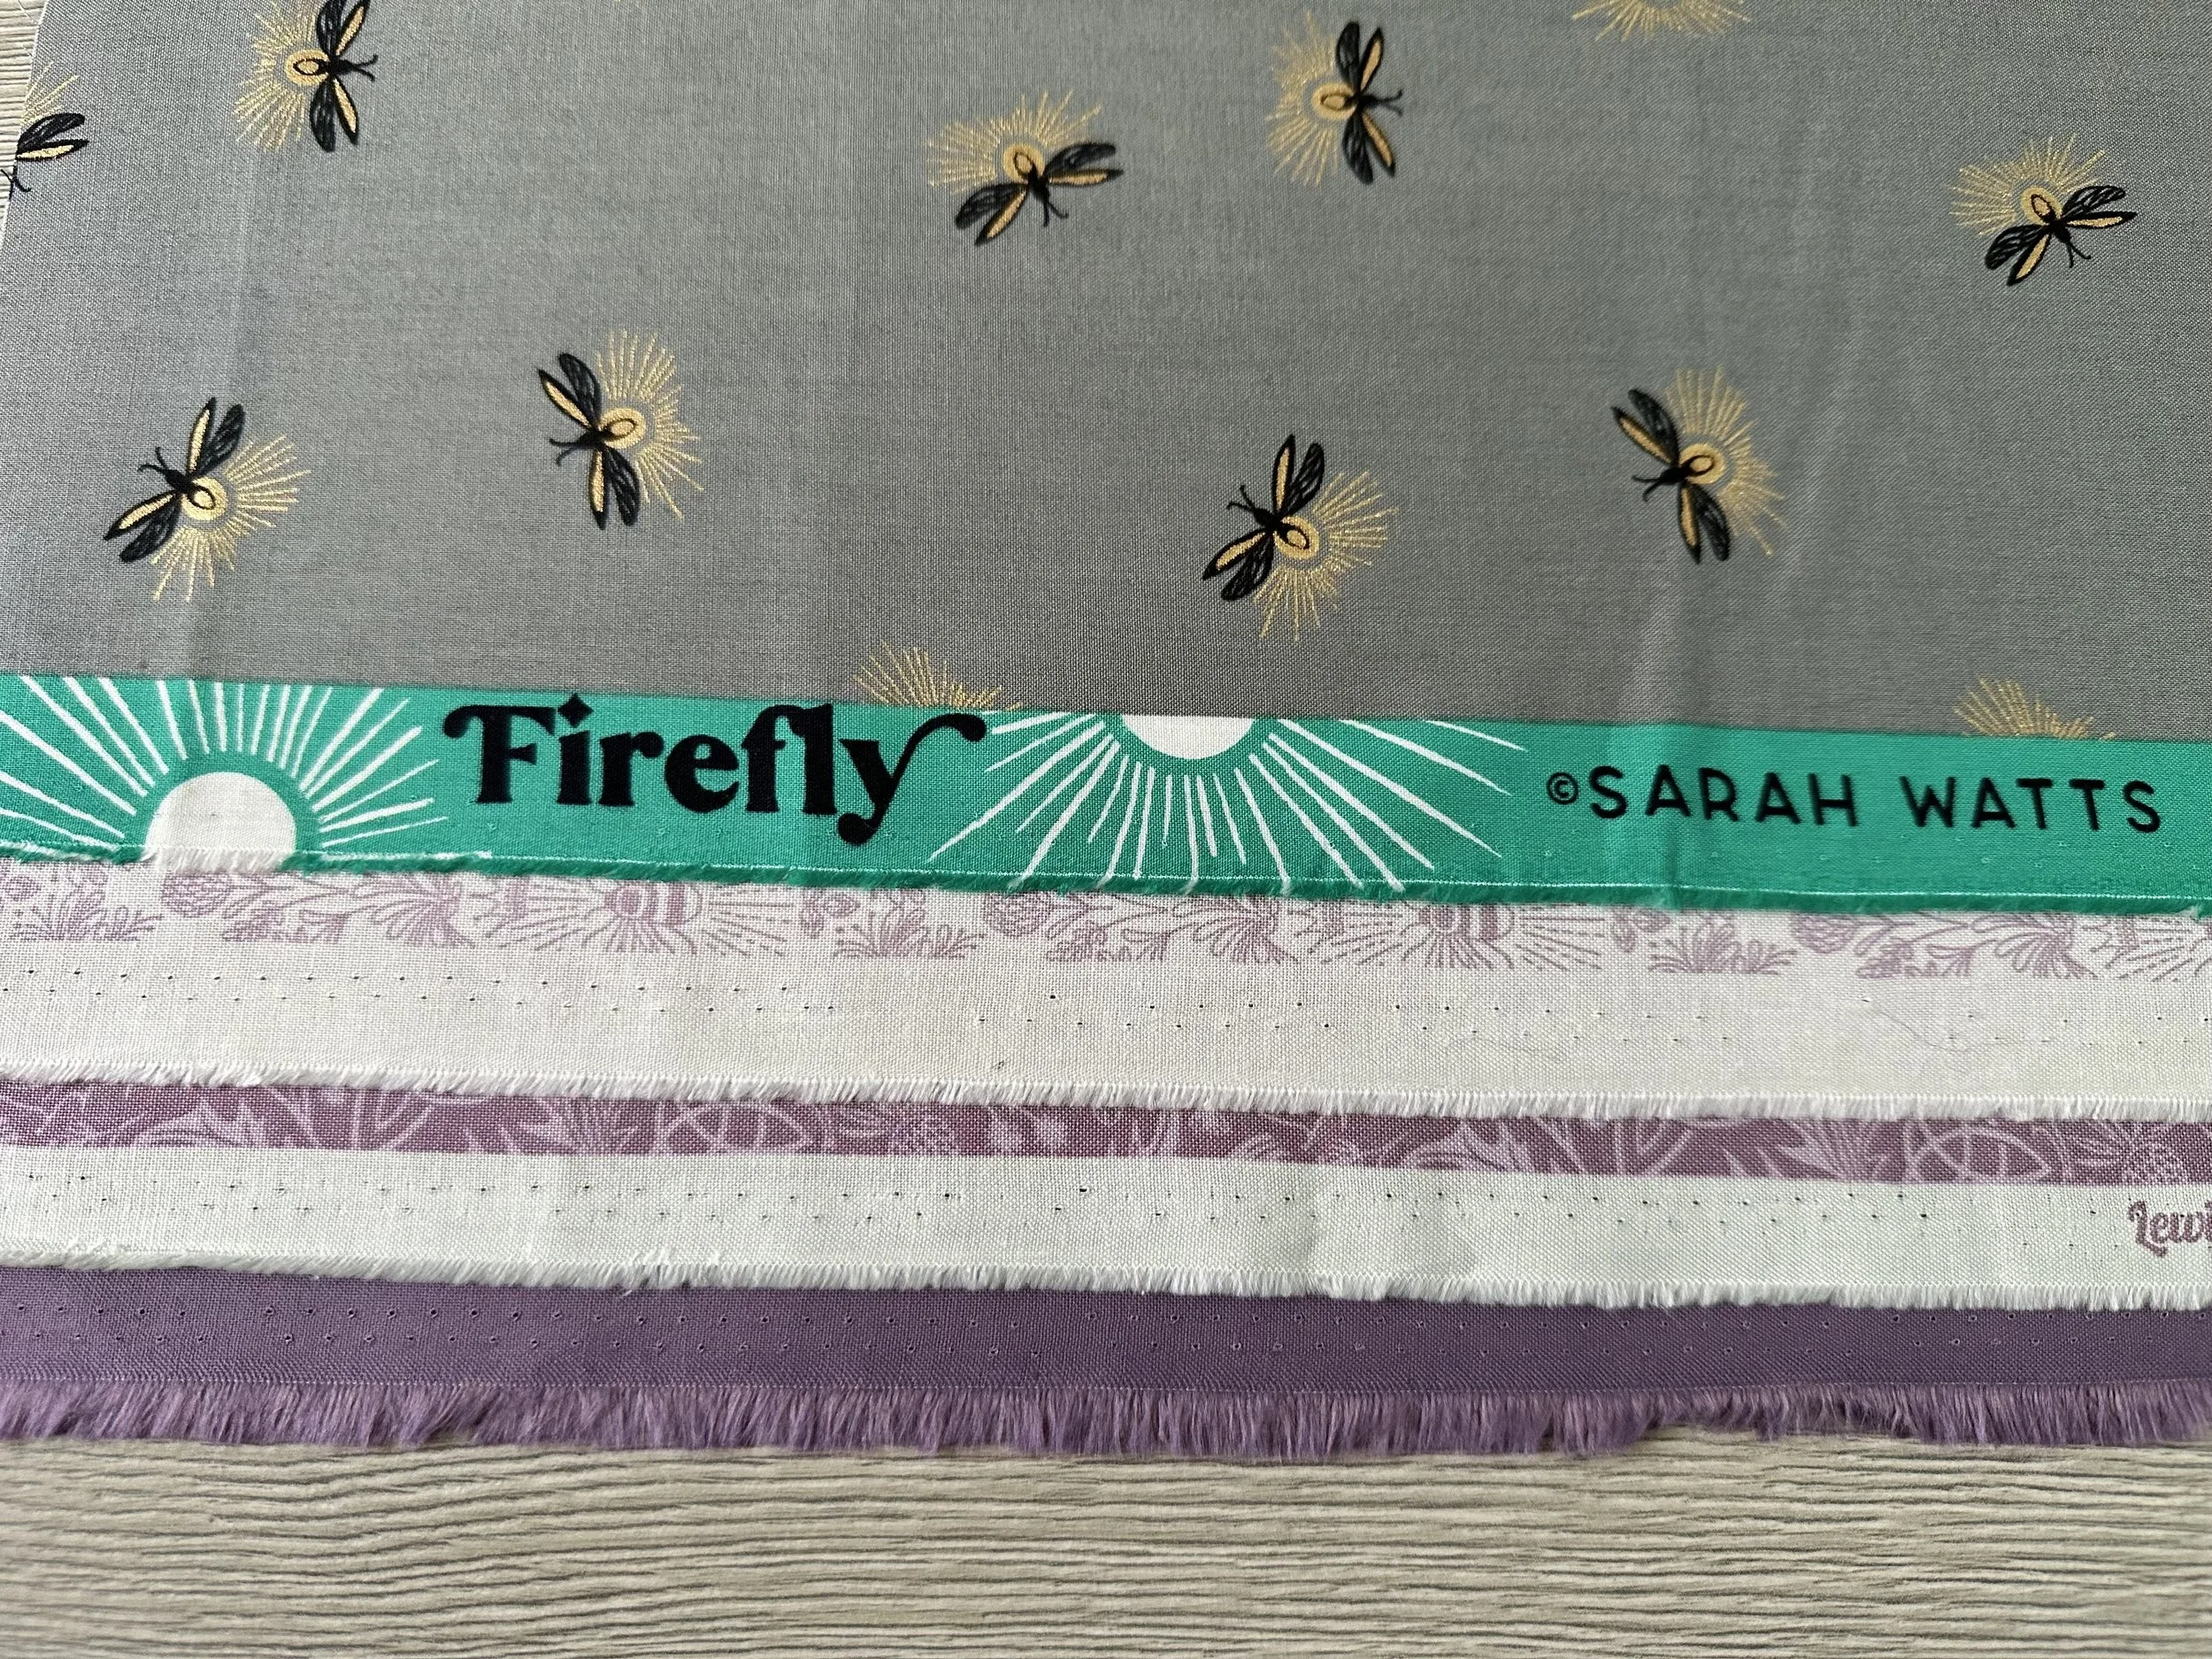
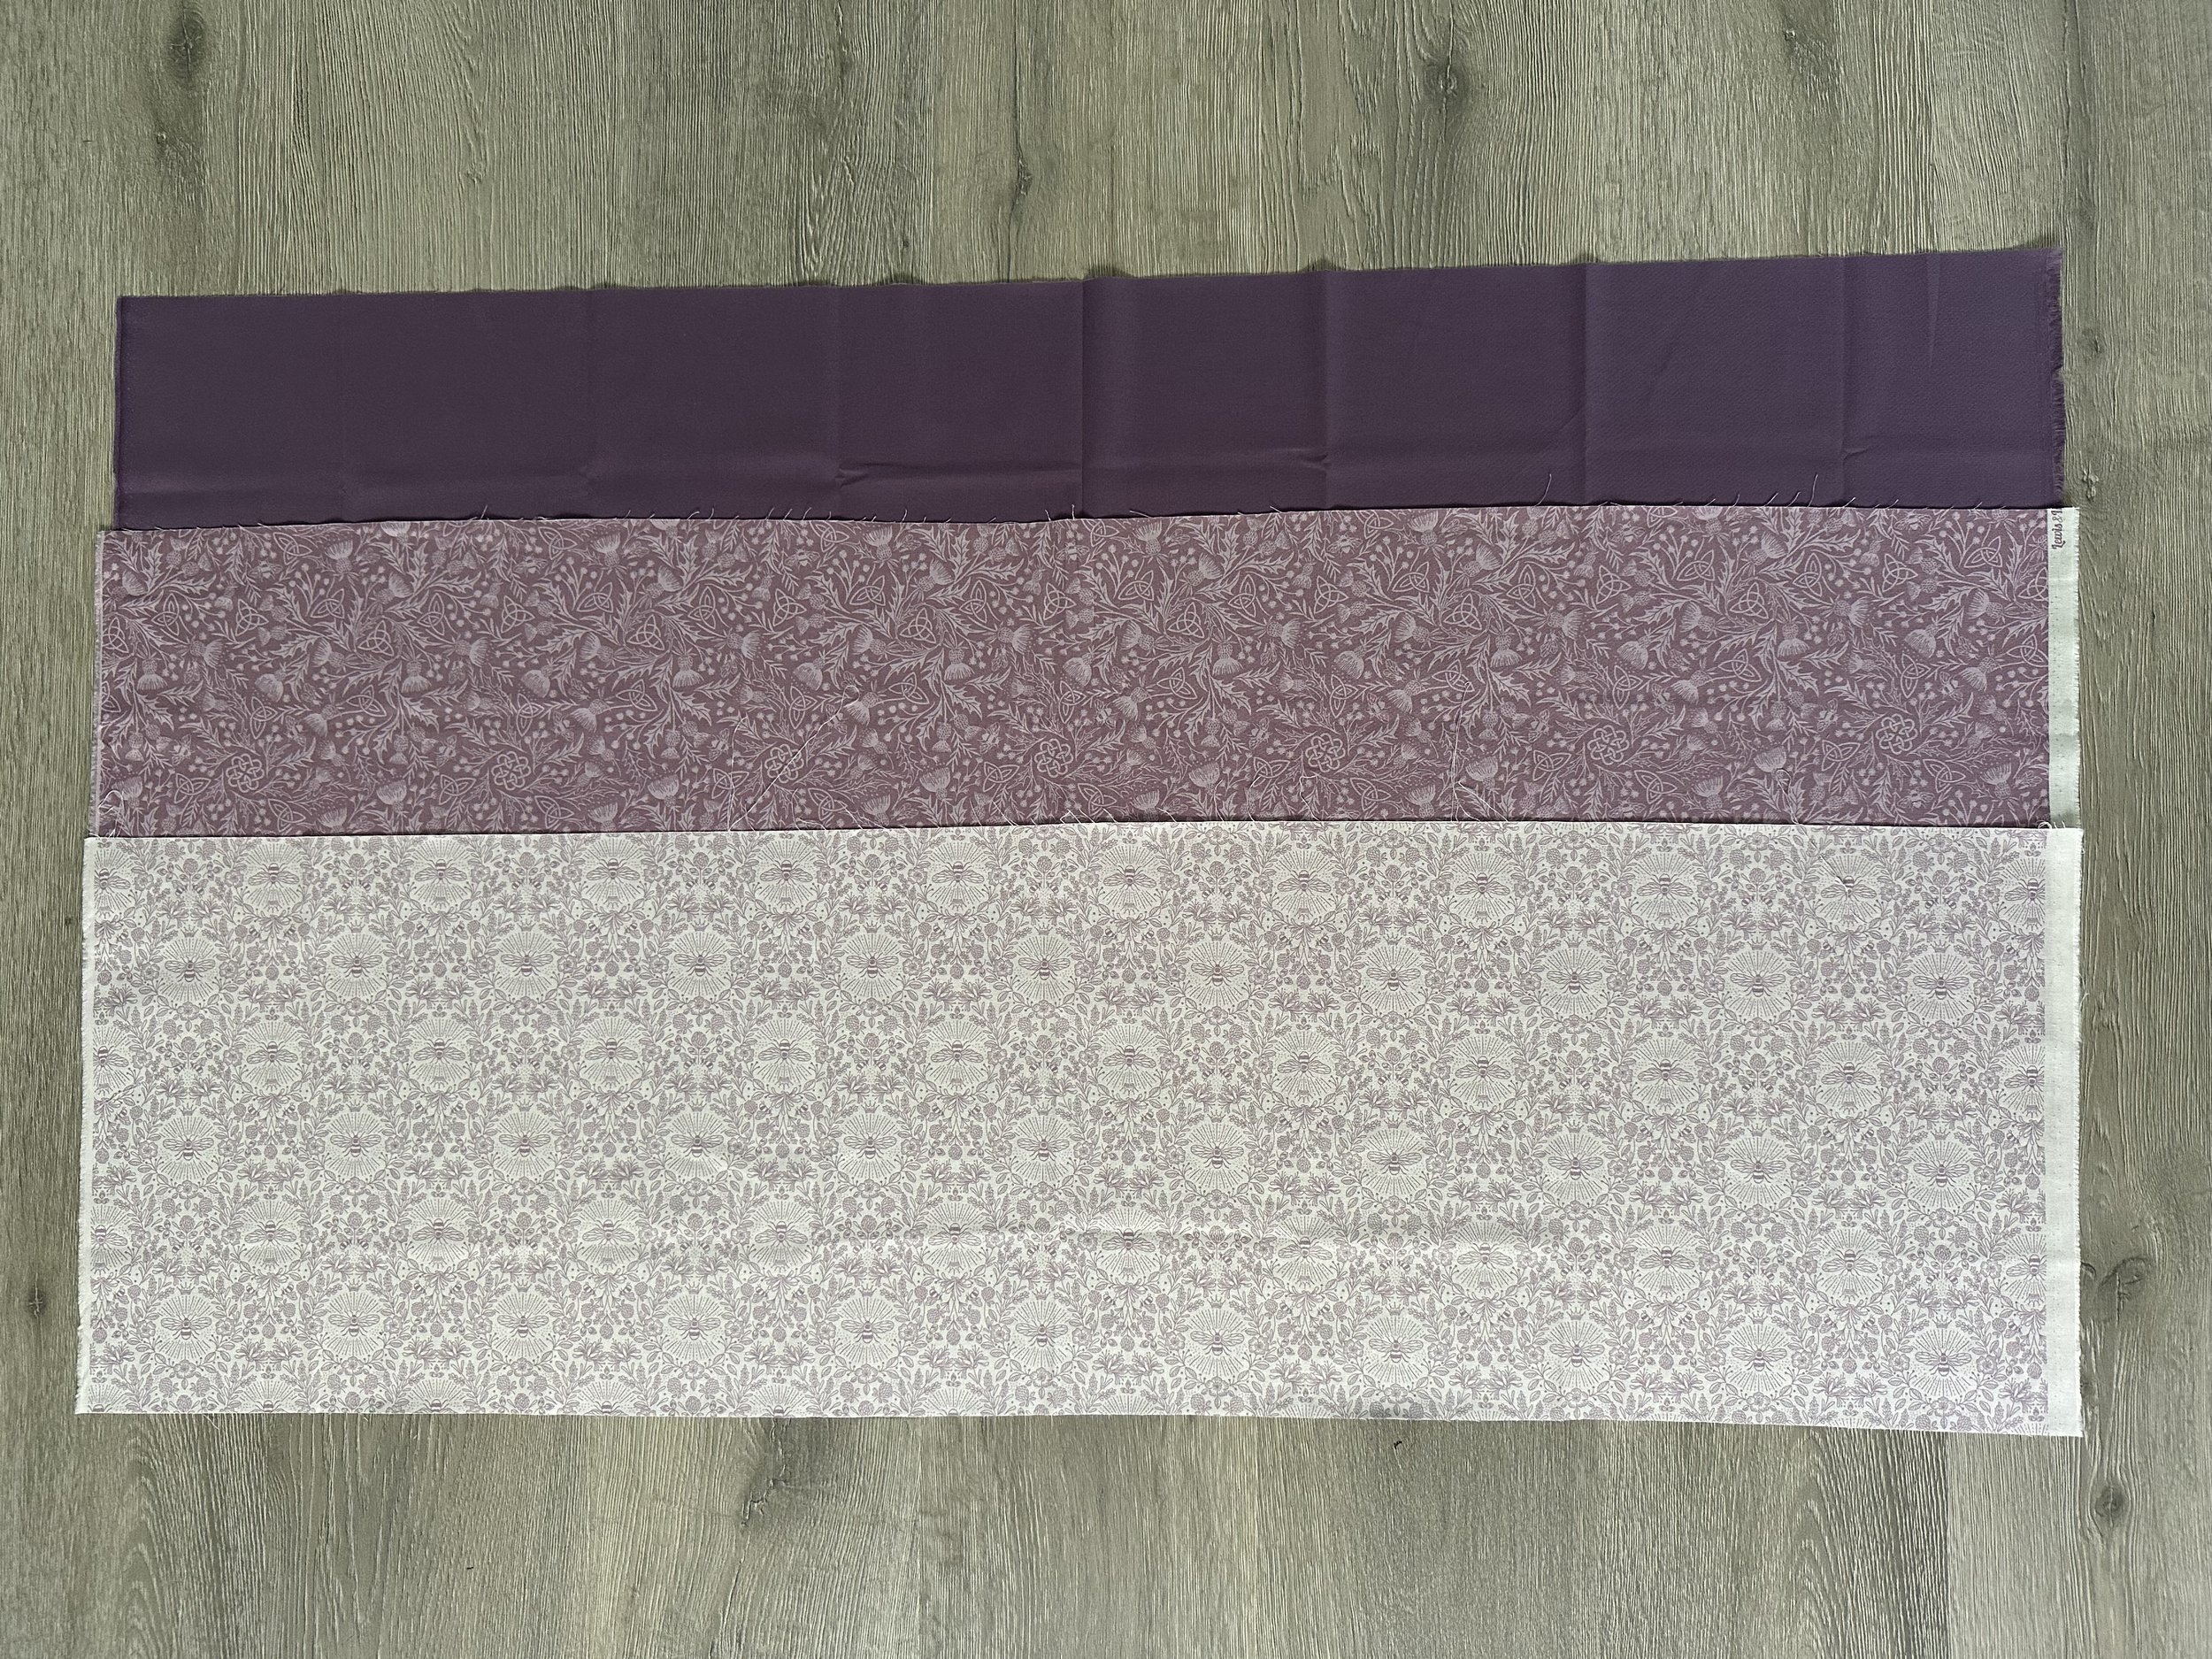
The selvedge, seen in the fabrics pictured above, is the manufactured finished edge of the fabric, usually consisting of two rows of dots or bumps, that prevents the fabric from unraveling on the bolt. On one side, the selvedge usually contains varying manufacturer and designer information, so it is visible different from your fabric, and on the other side, you may not necessarily see the selvedge because it still has the design of the fabric printed on it. Whether you can see the selvedge or not, you really should* remove the selvedge in whatever pieces you are cutting out. Not only is the selvedge sometimes a different color from the print of the fabric, but it also is woven differently, can feel different, and will shrink (or not shrink) differently than your fabric when washed. It is typically one half to three-quarters inch wide, so to remove your selvedge, you are already looking at losing a full one to one and a half inches from the width of your fabric. And that’s with old-school selvedges.
In more recent years, it’s become common for modern fabric manufacturers and designers to have a big, fat, decorative selvedge on one side that has their company and designer name, the name of the collection and/or print, sometimes a cute phrase, and usually a set of images that shows what colors are used in that print. And because of the big, fat, pretty selvedge, you are looking at even more fabric that’s not usable in your cutting. This is why most pattern designers (including myself), base their yardage requirements on 42” of usable fabric width, even though it’s a 44/45” WOF bolt.
*Again, you do you. So many fiber artists not only use selvedge in their work, but they make entire projects out of JUST decorative selvedges. It’s a great way to reduce waste and save those selvedges that are made to be so cute and delightful. I do think it’s important to know why rules are made, because then you can break them however your heart desires and you’ll be aware of any particular challenges that may arise from doing so. This does not just apply to selvedges, but really any rules for quilting and fiber art, in my opinion.
The Grain of Wovens
Back to the weave! Your basic weave is known as a “plain weave”. It has yarns running up and down, parallel to your selvedge, which is the “grainline”. It also has yarns running side to side, perpendicular to your selvedge. It’s essentially a grid. Each thread that runs across will alternate going over and under each thread that runs up and down. If you have ever seen a loom in action, this is the same process. This is how your typical quilting cotton is woven.
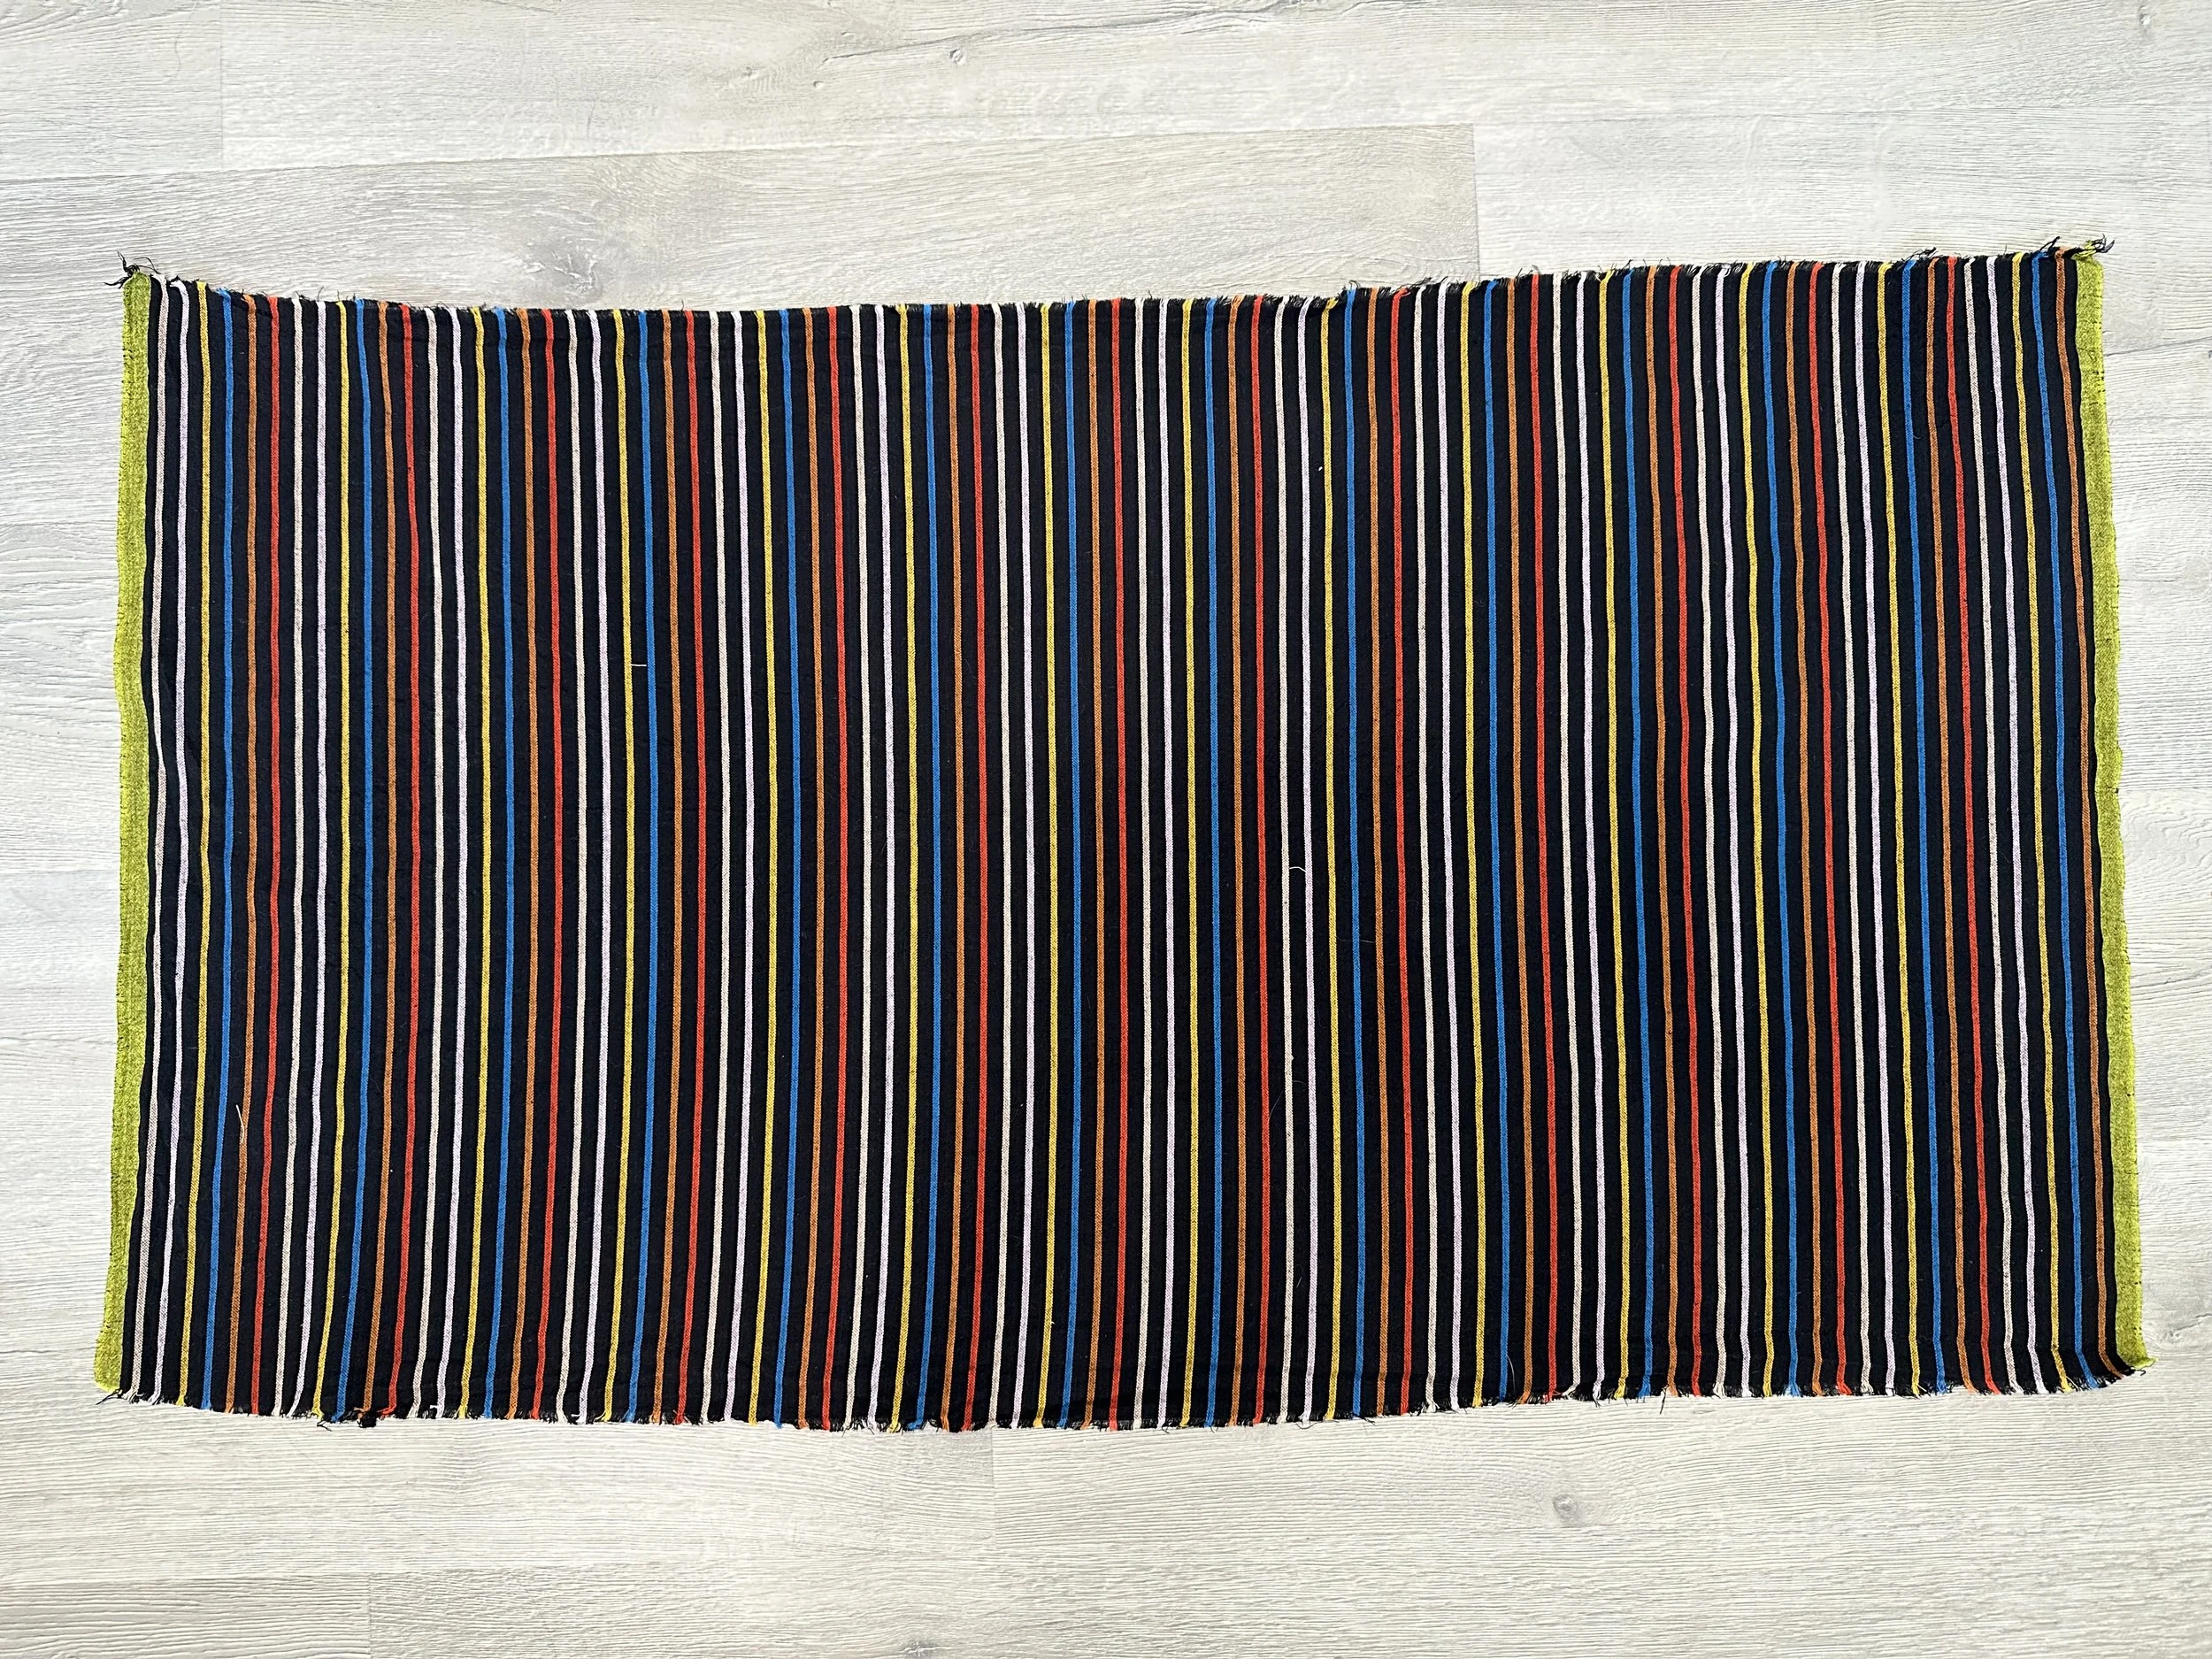
Assuming your fabric is laid out like the picture above, unfolded with the selvedges on the sides, the direction of the stripe, (running up and down) is known as the “warp”. The direction running right and left is known as the “weft” (“left” rhymes with “weft” if you needed a mnemonic device to help you remember what’s what). There are fancier weaves than your plain weave and specifically, there are cottons with more intricate weave designs that are colloquially called “wovens” and “yarn-dyed wovens” that are very popular to quilt with these days. The striped fabric above falls in this category, but that’s for a later post.
The Bias
The 45 degree diagonal direction is called the “bias”. As in “bias binding” and “bias tape”. The bias has a good bit of give. I’ll even say it has “stretch”. My theory is that this is because there is no thread running precisely in that direction, so there is no tension to hold it in place. But that’s just a theory. The rub being that though it may have “stretch”, it will not really recover from that stretch. This is why you should always be careful when working with pieces that are cut on the bias. If you inadvertently stretch them, it will not stretch back and you will be left with a piece that is warped out of shape, probably pretty rippley, and now stretched out and larger than it should be in some areas. The bias is helpful, and even critical in quilting when it comes to things like sewing curves or potentially binding BECAUSE of that stretch. It allows your curves and binding can lay flat because the threads have the ability to stretch and spread out a bit instead of being bunch up on themselves as a curve causes them to do.
Also, the bias does not fray. That’s really neither here nor there, but interesting to know, and the reason some precuts have the pinked triangley edges on them instead of just cut straight with grain. Wovens, when cut with the grain or perpendicular to the grain, will start to fray as they are cut and dealt with. Looser weaves will fray easier and faster than those with tighter weaves.
Great. So what is the practical use for all of this information?
Good question! And the answer, is coming in the next post in this series.
Laura will return in Fabrics. The Very Basics Part 2.


